
|
It may seem simple. Just place a document or in this case an instruction manual into the scanner and scan it. There is more to it than that. When a file is scanned the color is lightened from the brightness of the light while being scanned. You can clearly tell the difference even though it may look good as an original scan there is a bit you can do to improve the image and enhance the quality of it.
The first thing to talk about is the DPI before you even scan the image. DPI stands for Dots Per Inch. This will tell the scanner how many dots are in an inch. The quality of the image is upped the higher the DPI. There really is no need to go any higher than 300 DPI as the files get quite big. All instruction manuals are scanned at 150 DPI as of now and that's what I recommend. |
|
Once you have decided on the DPI it is time to scan your image into a file on the computer. I use JPG as an image format. After having saved the image I then crop it in an image editor. Can be something simple like paint. What I do is open the image in paint to crop and rotate the image. Then I use GIMP to enhance the image. Photoshop can be used as well, but I like GIMP. For the best result it's best to use one image editor.
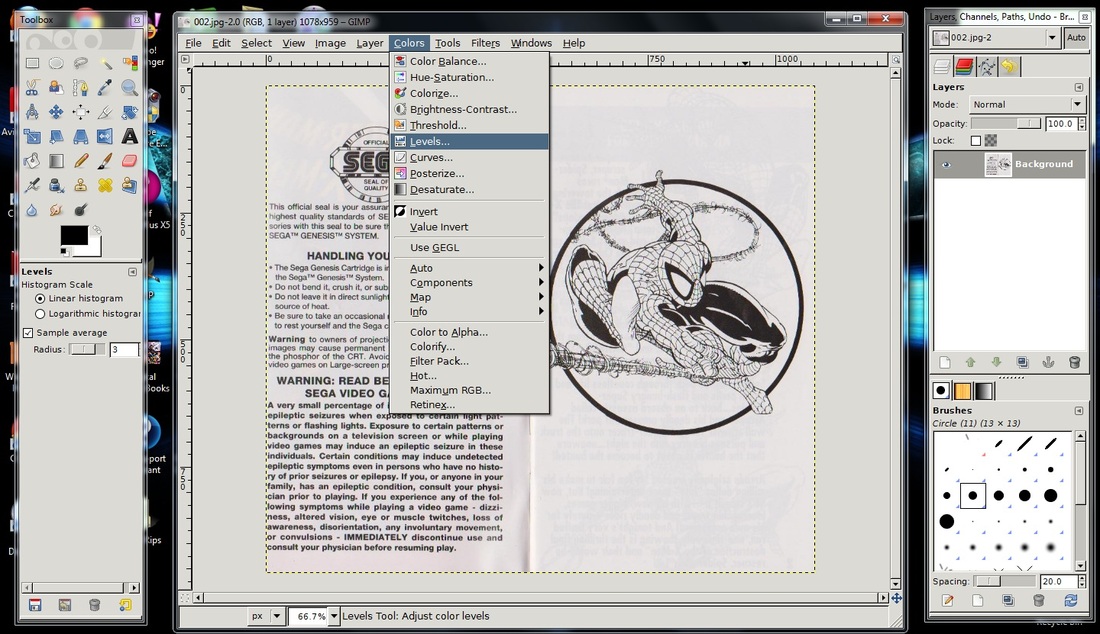
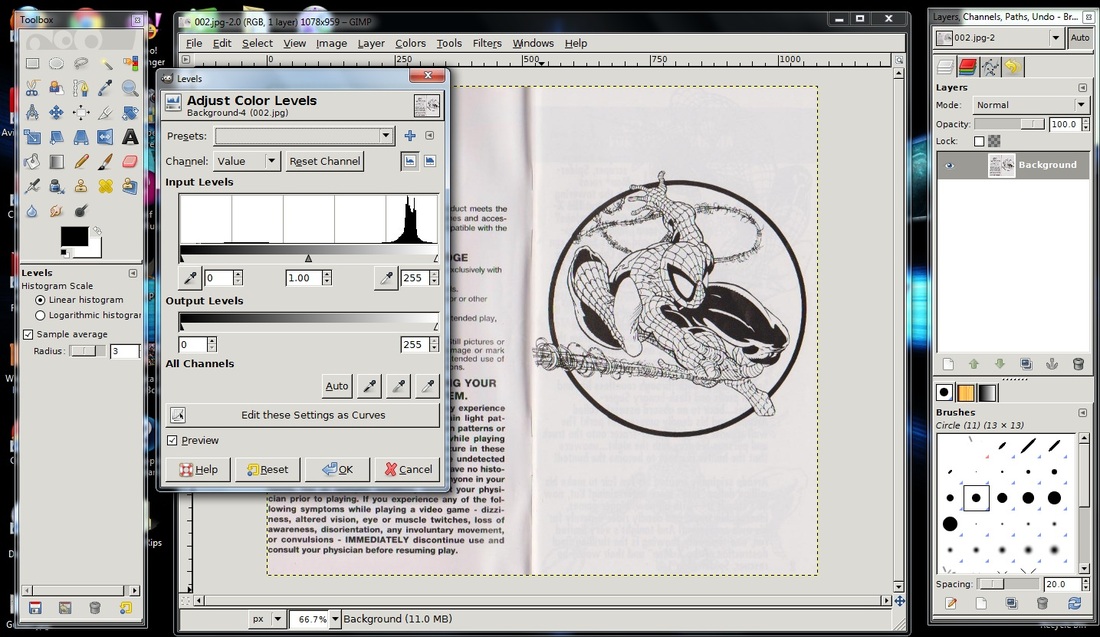
Once you have your image cropped and the way you want it, then it's time to enhance it. It's a pretty simple process for most images. Sometimes it requires you to pay attention to detail though. All that really needs to be done is to adjust the black and white levels of the image. You do this in GIMP by going to colors and then levels. Once you have that open you'll see a bar that you can adjust from white 0 to black 255. |
|
|
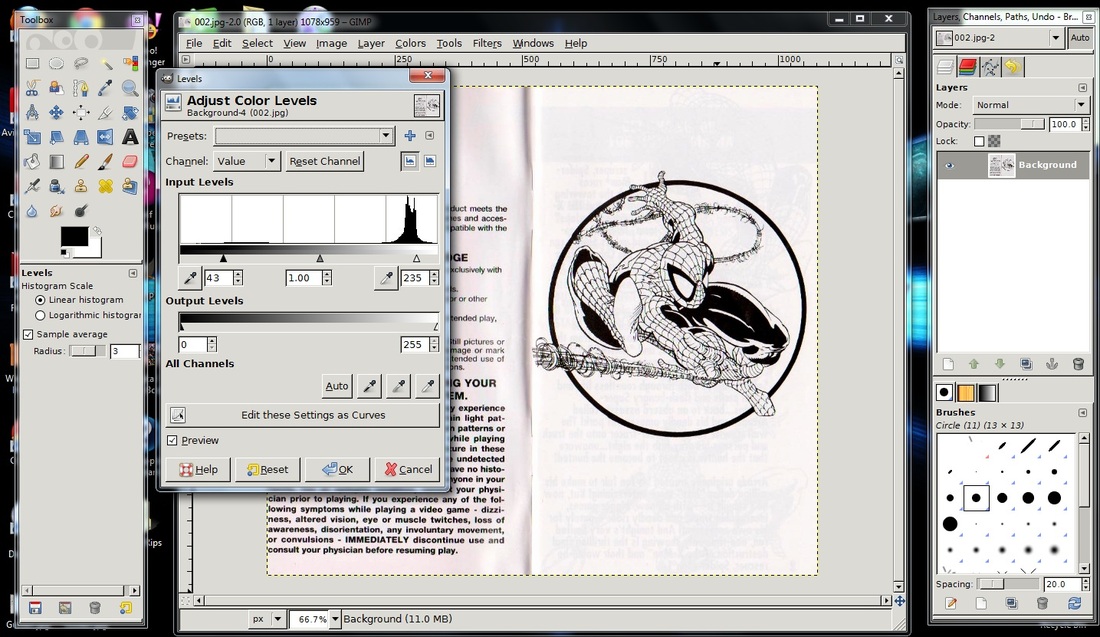
There are some spikes on the chart above that and the goal is to get the white a bit before it spikes. Usually this means 245 for the white and for the black it can vary between 30-120. Most don't need that much black as it starts to lose some detail so you'll have to use your judgement. I don't go over more than 100 the majority of the time.
|
